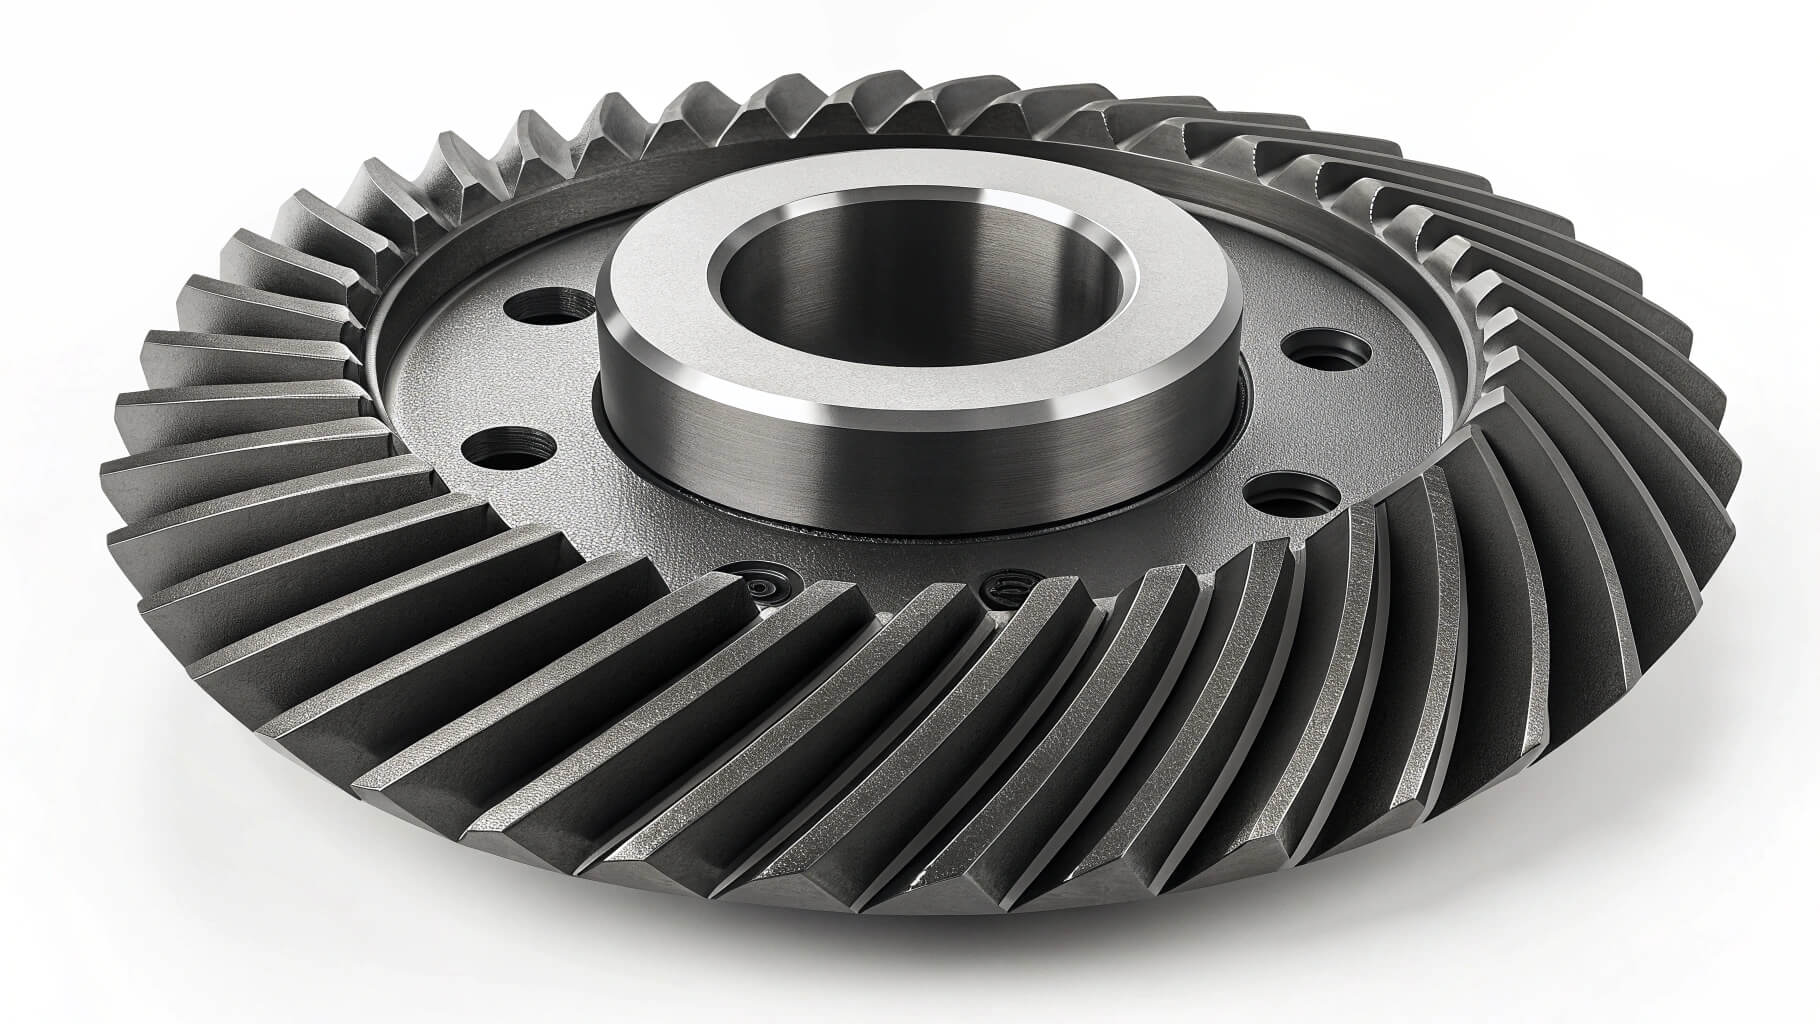
What is a Spiral Bevel Gear?
A spiral bevel gear features curved teeth cut at an angle across the face width, meshing with another bevel gear to transmit motion between intersecting shafts (typically at 90°). The spiral tooth form enables gradual engagement, reducing noise and shock loading compared to straight bevel gears. Yantong Tech manufactures spiral bevel gears with controlled tooth geometry, verified contact patterns, and documented heat treatment to ensure smooth operation, high load capacity, and extended service life in automotive differentials, construction machinery, and precision right-angle drives.
- Precision spiral tooth cutting (Gleason or equivalent method) achieves AGMA 10–12 / ISO 1328 Grade 6–8 accuracy for smooth meshing
- Carburizing or nitriding heat treatment delivers HRC 58–62 surface hardness with controlled case depth for fatigue resistance
- Tooth contact pattern inspection (Prussian blue marking) and gear measurement data archived for full traceability
- Custom shaft angles, mounting configurations, and spiral hand (RH/LH) designed per application requirements
Core Characteristics and Performance Advantages
Engineering features that enable quiet operation, high torque capacity, and predictable service life in right-angle drives
Smooth & Quiet Engagement
Spiral tooth form enables gradual contact buildup along the tooth flank, reducing vibration and noise compared to straight bevel gears; ideal for automotive and enclosed drive systems where noise control is critical.
High Torque Capacity
Curved tooth geometry increases contact ratio and effective tooth strength; carburized surface withstands contact stress up to 1500 MPa, enabling compact drive designs with higher power density.
Verified Contact Pattern
Tooth contact marking inspected and optimized during manufacturing to ensure proper load distribution; contact pattern documented in inspection report to confirm alignment with design specification.
Technical Specifications and Manufacturing Range
Comprehensive parameter overview for engineering evaluation and design integration
| Item | Specification Range | Remarks |
|---|---|---|
| Outer Diameter | 30 mm – 600 mm | Custom sizes per customer drawing |
| Module | m1 – m10 | Spiral angle typically 30°–40° |
| Number of Teeth | 12 – 120 | Ratio range 1:1 to 10:1 available |
| Shaft Angle | 90° (standard), 45°–135° (custom) | Right-angle most common |
| Tooth Accuracy | AGMA 10–12 / ISO 1328 Grade 6–8 | Inspection report available |
| Materials | 20CrMnTi / 42CrMo / 18CrNiMo7-6 / SCM415 | Material composition customizable |
| Heat Treatment | Carburizing / Nitriding / Induction Hardening | Enhances wear resistance and fatigue life |
| Surface Hardness | HRC 58–62 (Carburized) HRC 50–55 (Nitrided) |
Dependent on material and process |
| Surface Roughness | Ra 0.8 – 1.6 μm | Achieved after lapping or grinding |
| Inspection | CMM / Gear Measuring Center / Contact Pattern Check | Inspection reports provided |
Custom Manufacturing Capability for Spiral Bevel Gears
Four core competencies supporting automotive drivetrains, industrial right-angle drives, and heavy equipment applications

Design & Engineering Capability
Tooth geometry calculation per Gleason or Klingelnberg methods; spiral angle, pressure angle, and cutter radius optimization based on load, speed, and envelope constraints; reverse engineering from samples for OEM replacement.
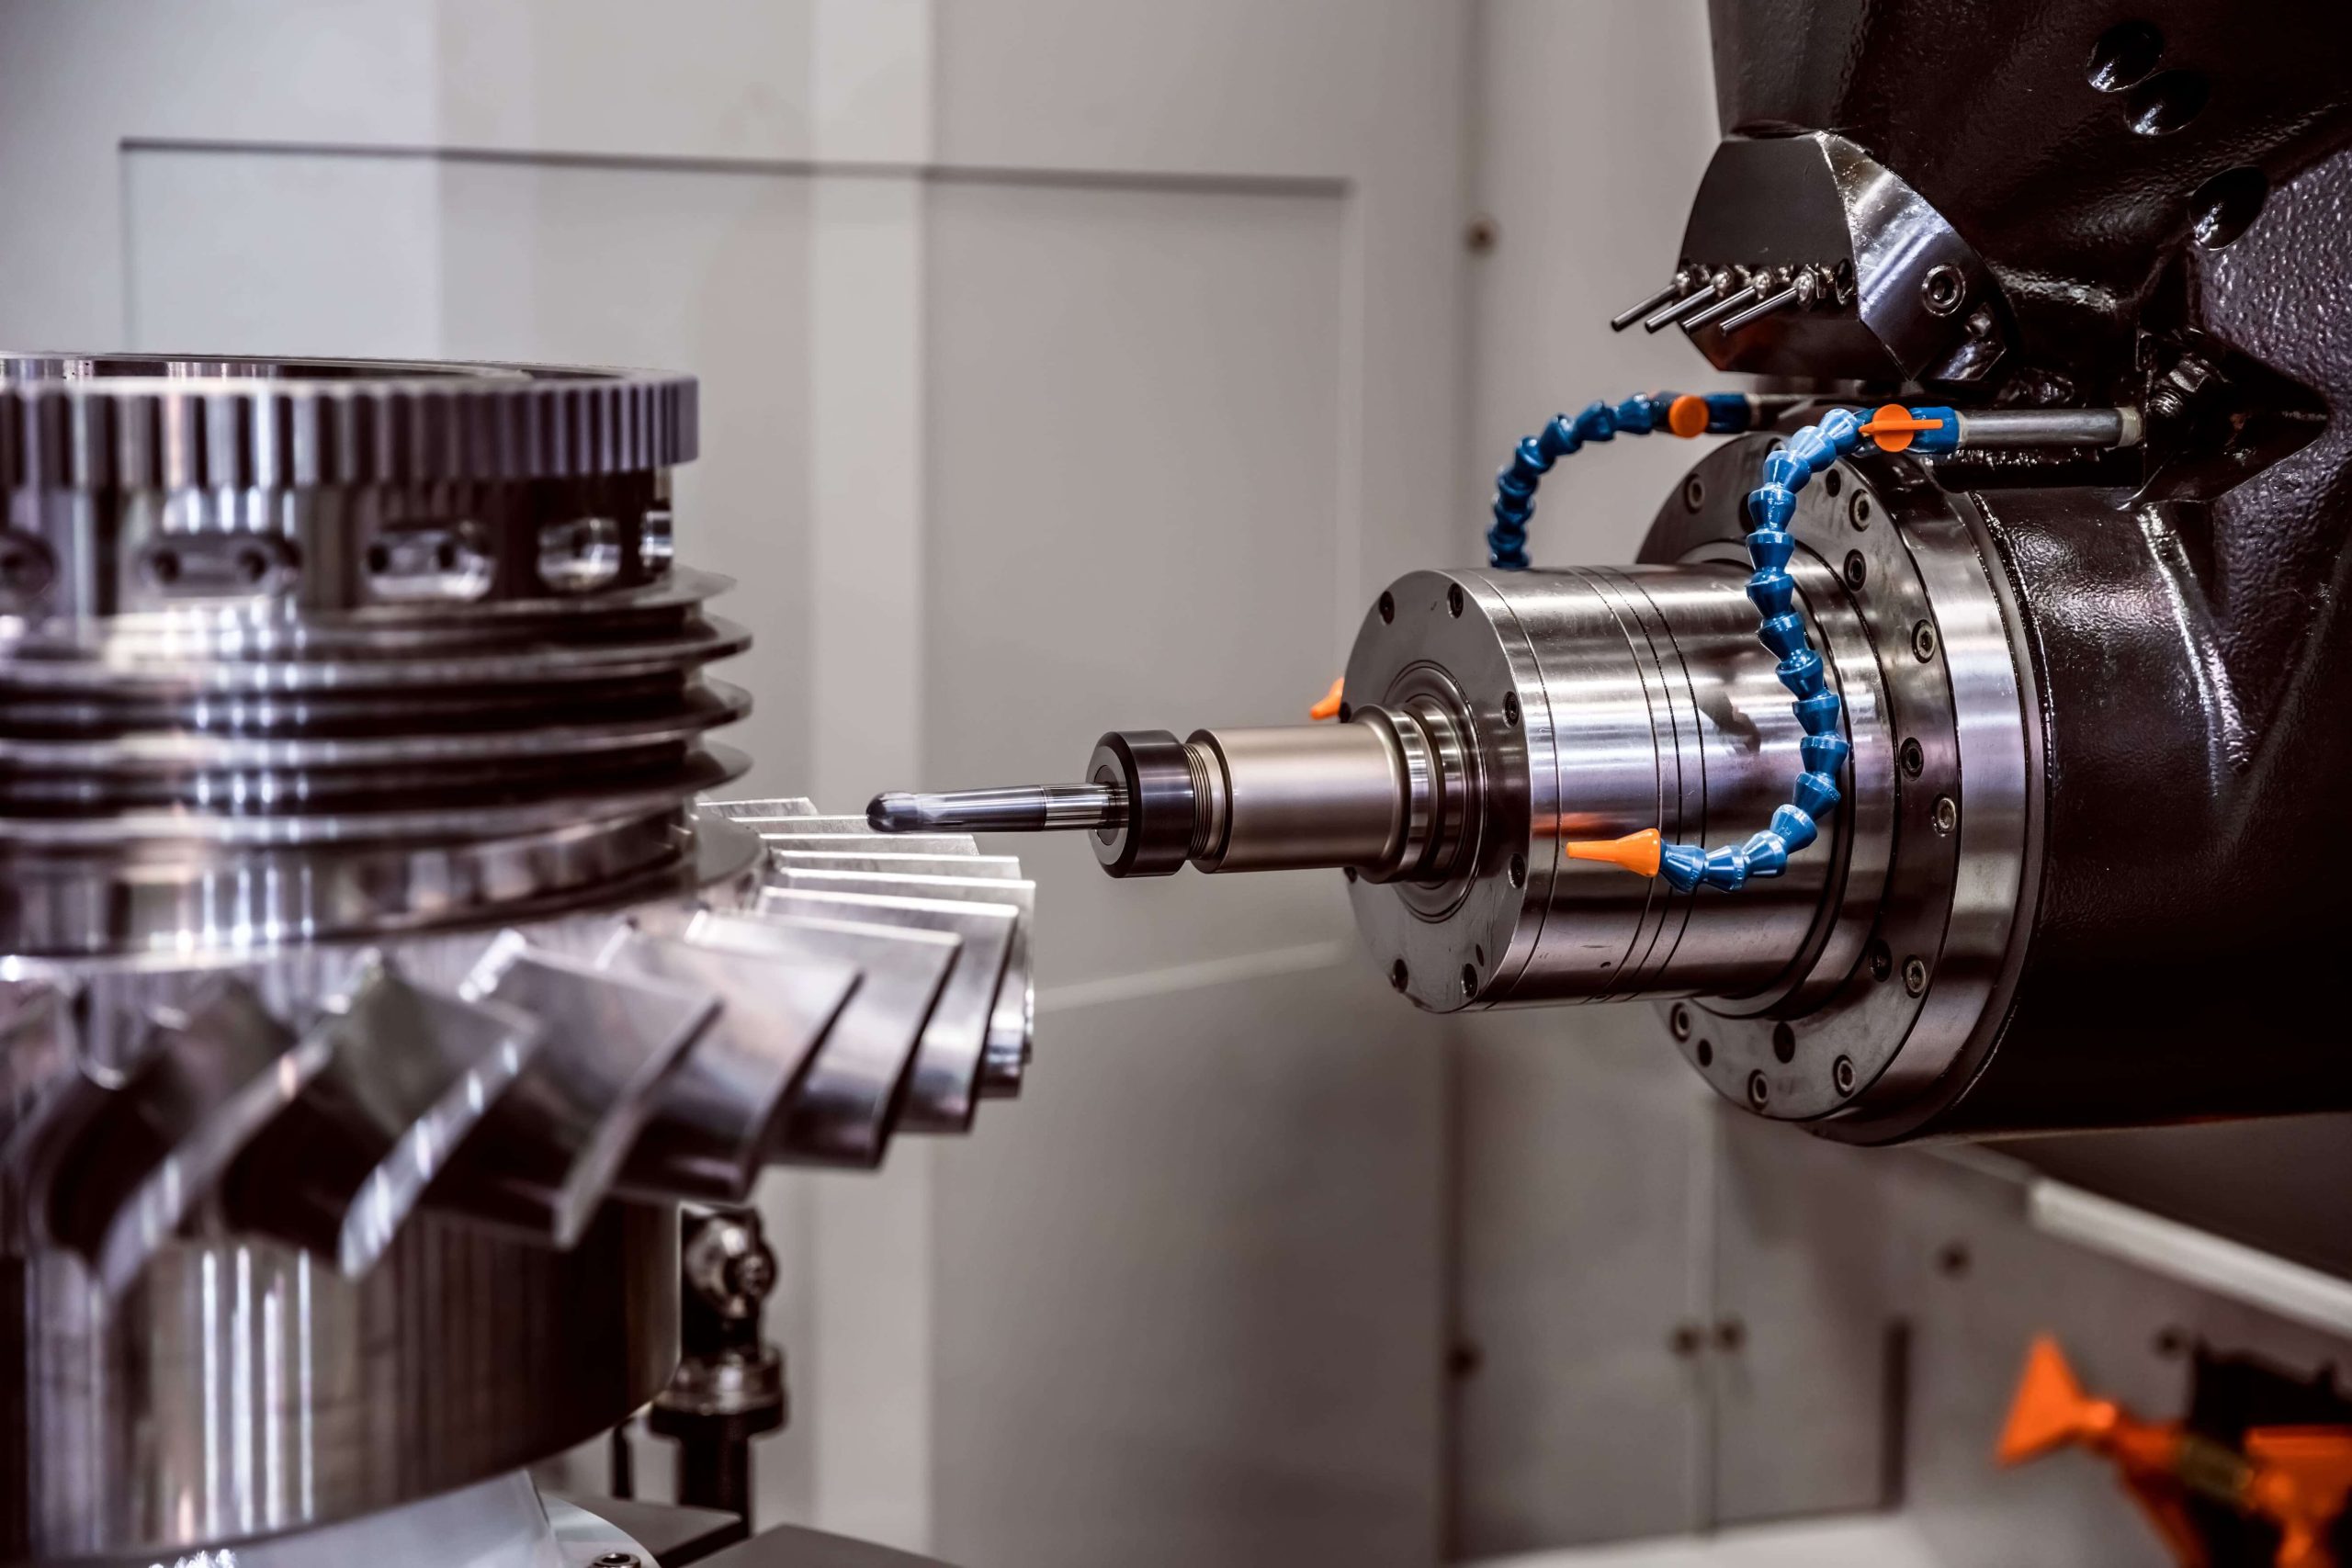
Precision Cutting & Grinding
CNC spiral bevel gear cutting machines (5-axis or equivalent) for pinion and gear generation; finish lapping or grinding for high-accuracy applications; tooth contact pattern optimized through iterative marking and adjustment.
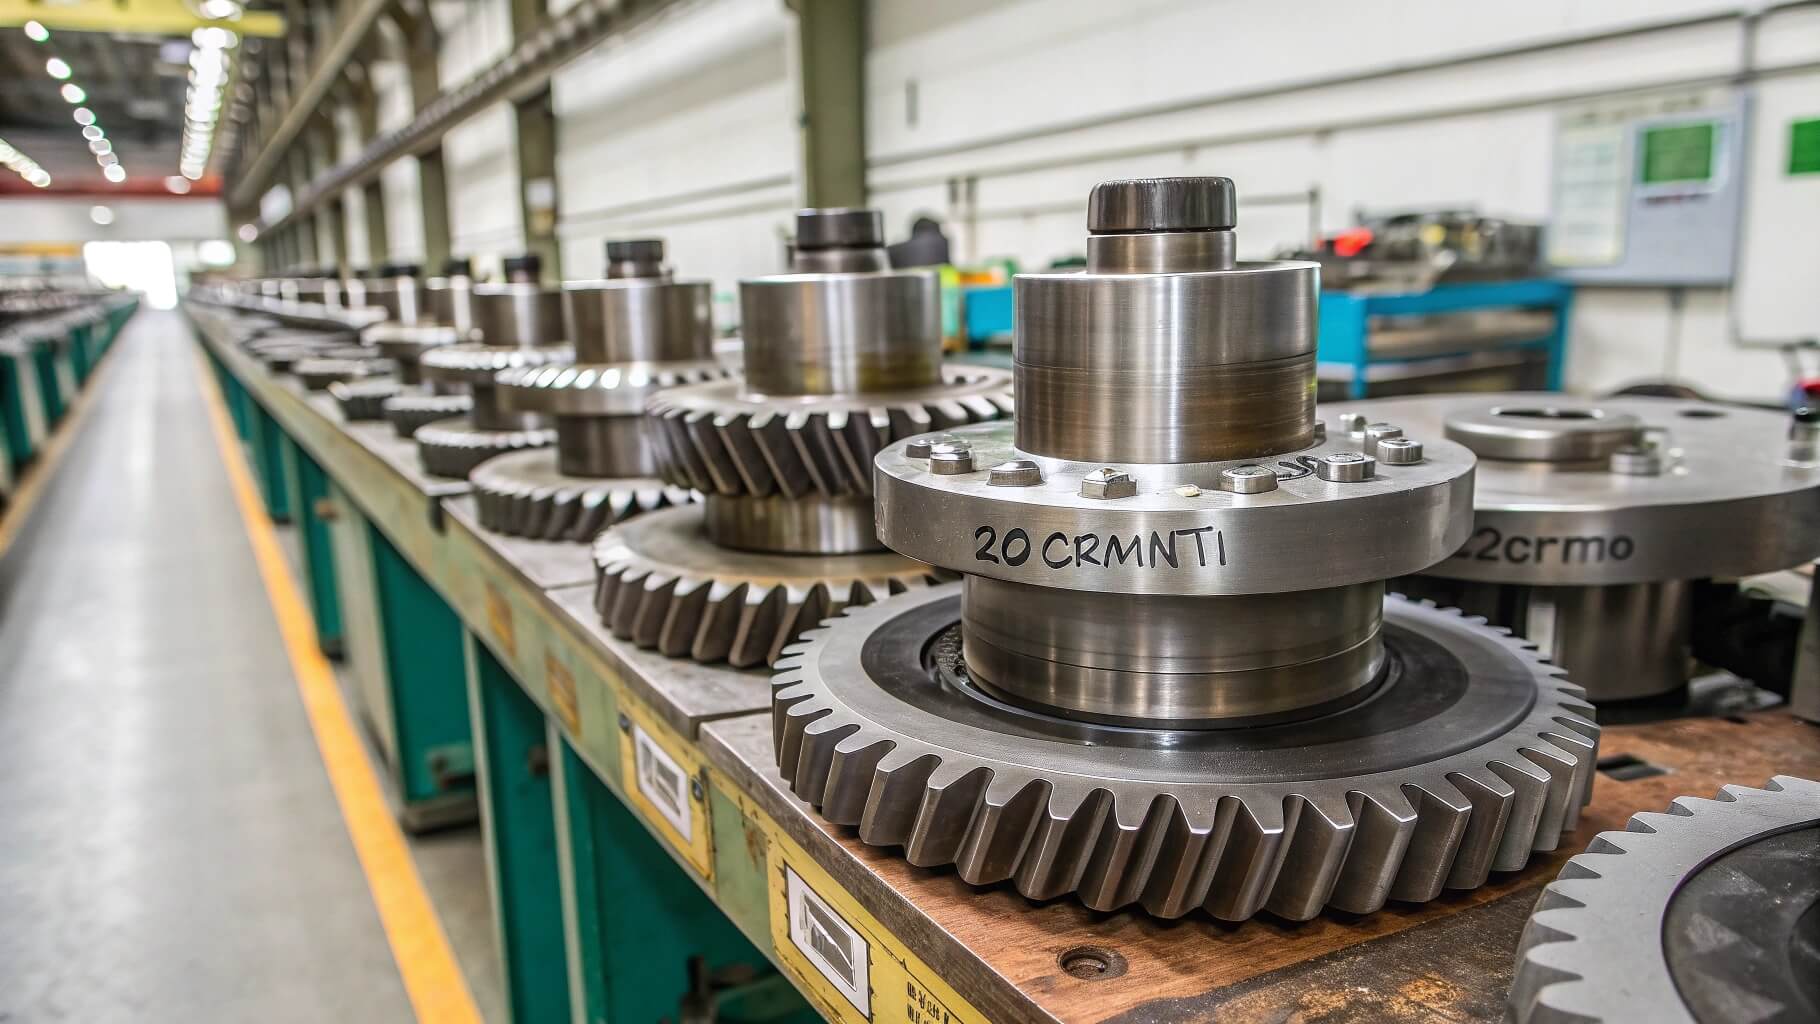
Material & Heat Treatment Options
Standard alloy steels (20CrMnTi, 42CrMo, 18CrNiMo7-6) with carburizing or nitriding; case depth and hardness validated per specification; material traceability and heat treatment reports provided with shipment.
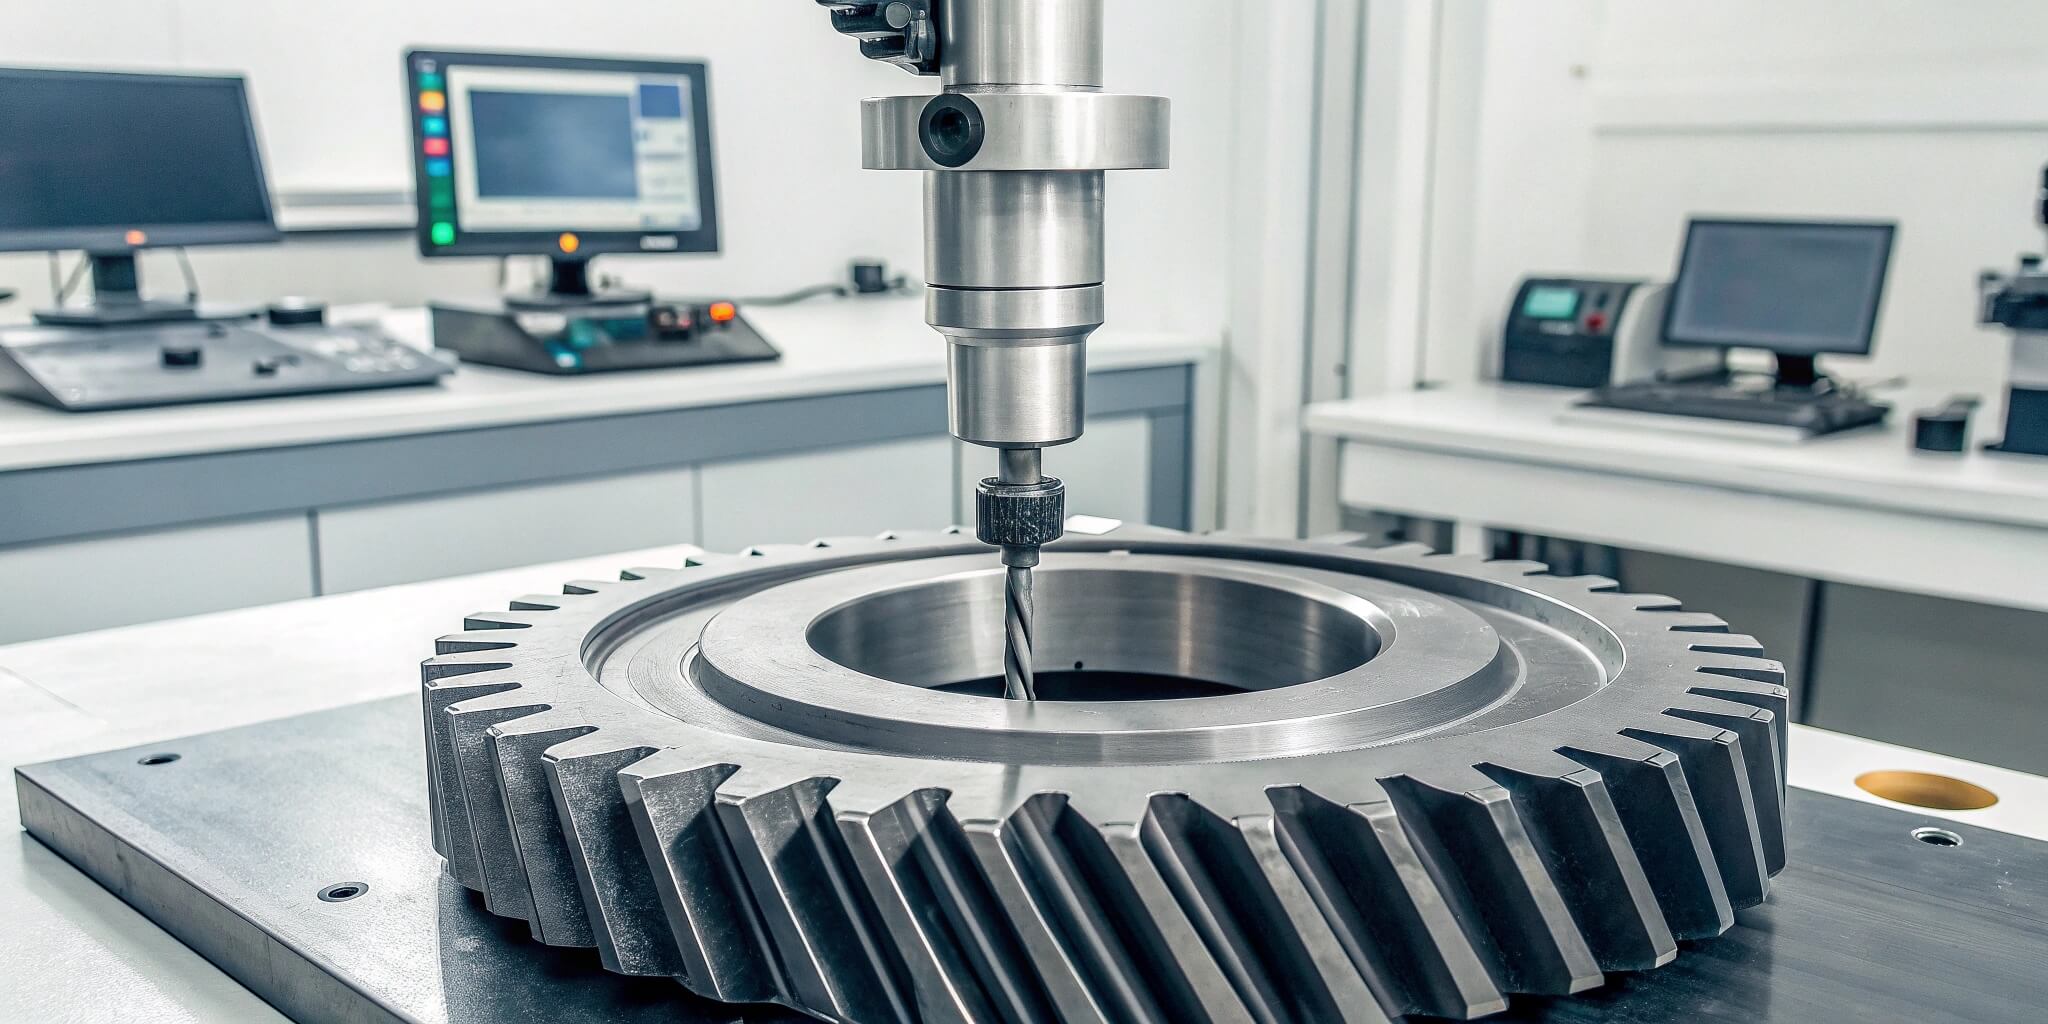
Testing & Technical Support
Full dimensional and tooth geometry data archived; CMM, gear measurement center, and contact pattern inspection reports; remote technical consultation for assembly guidance and performance optimization.
Manufacturing Process: From Raw Material to Verified Spiral Bevel Gear
Six controlled stages ensuring tooth geometry accuracy, contact pattern integrity, and full traceability

Raw Material Preparation
Incoming steel (20CrMnTi, 42CrMo, or customer-specified grade) validated with mill certificates; chemical composition and initial hardness verified before release to machining. Material lot numbers recorded for batch traceability.
Blank Machining & Pre-Cutting
CNC turning establishes outer diameter, bore, and mounting surfaces to near-final dimensions; face and cone angles pre-machined to prepare for spiral tooth cutting. First-piece inspection confirms dimensional accuracy before batch production.
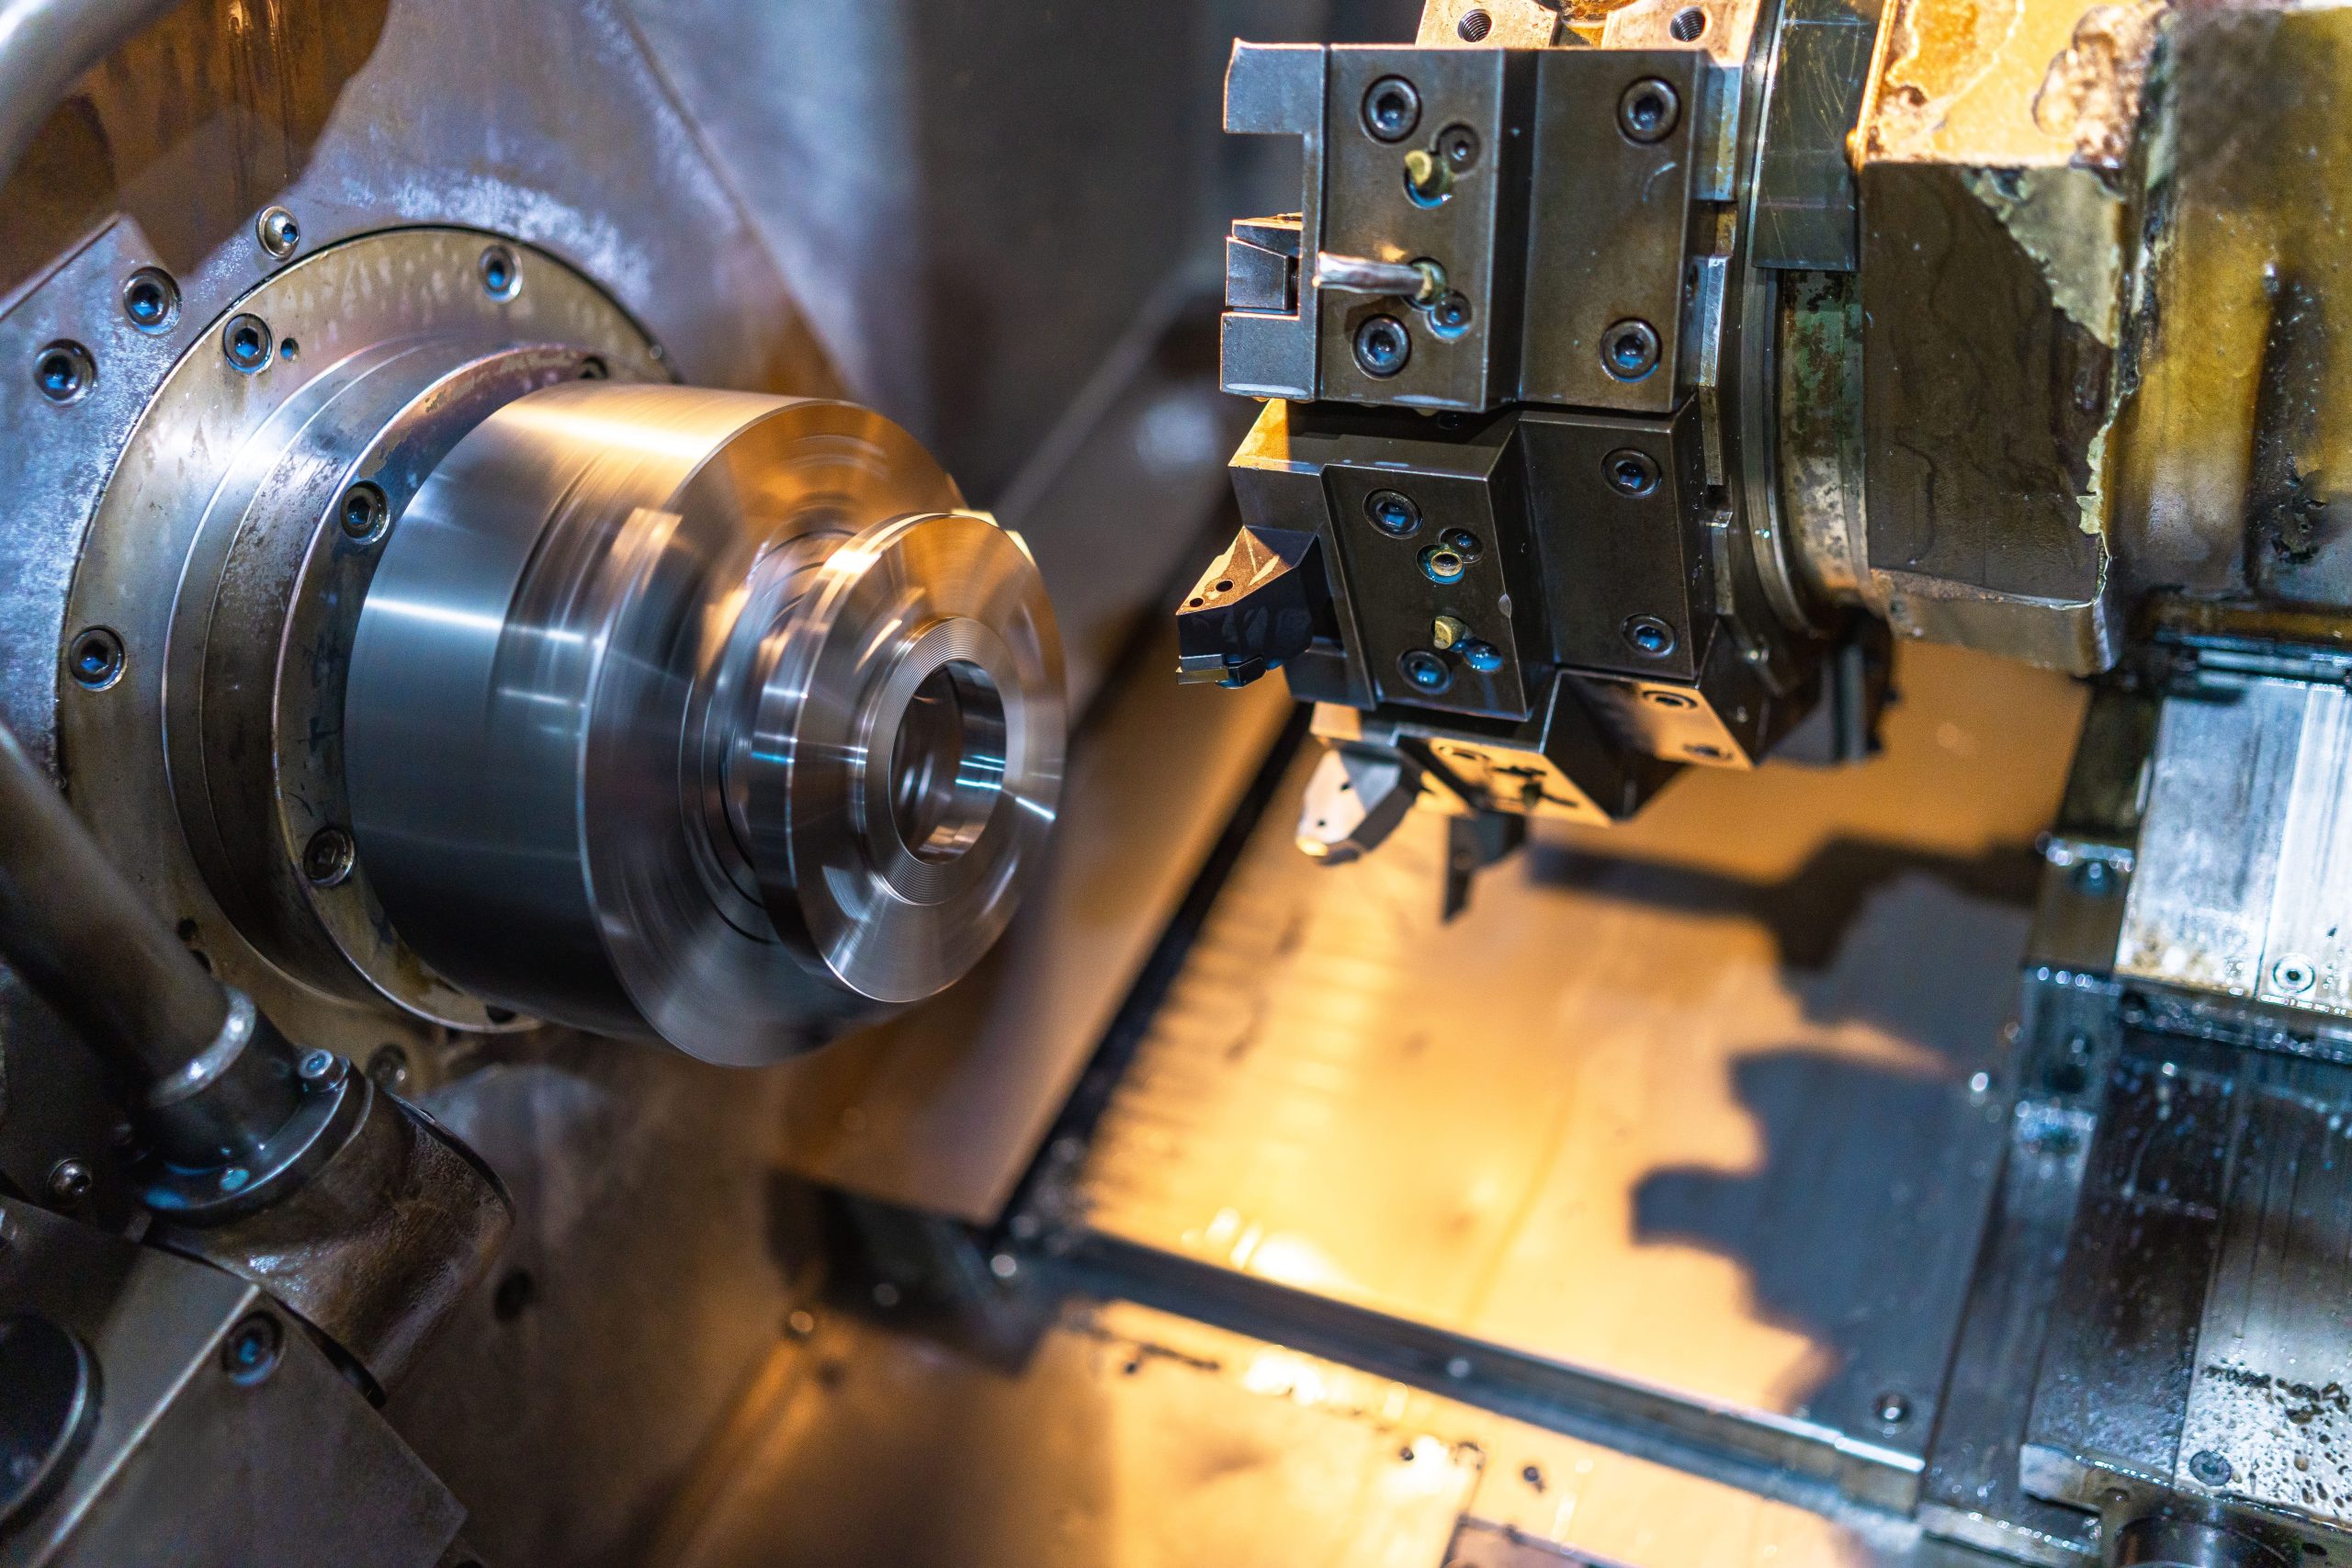

Spiral Tooth Cutting (CNC Bevel Gear Generator)
CNC spiral bevel gear cutting machine (face milling or face hobbing method) generates curved teeth per calculated geometry; spiral angle, pressure angle, and tooth depth controlled to drawing specification. In-process checks monitor tooth thickness and profile form.
Heat Treatment (Carburizing or Nitriding)
Parts undergo carburizing (gas or vacuum) to achieve HRC 58–62 surface hardness with specified case depth, or nitriding for HRC 50–55. Heat treatment cycles documented; hardness and case depth verified on test coupons and production samples.

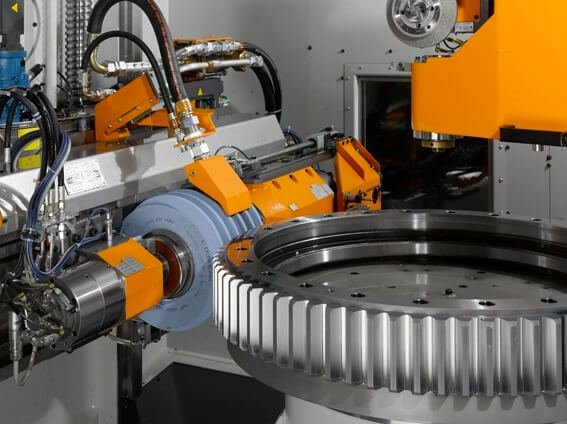
Finish Lapping & Contact Pattern Optimization
Gear lapping (for precision grades) corrects minor distortion from heat treatment and achieves final tooth surface finish (Ra 0.8–1.6 μm). Tooth contact pattern marked with Prussian blue and optimized through iterative adjustment to ensure proper load distribution.
Final Inspection & Documentation
Gear measurement center records tooth geometry data; CMM verifies mounting dimensions; contact pattern photographed and documented. Inspection certificate, material traceability, and heat treatment report prepared for shipment.
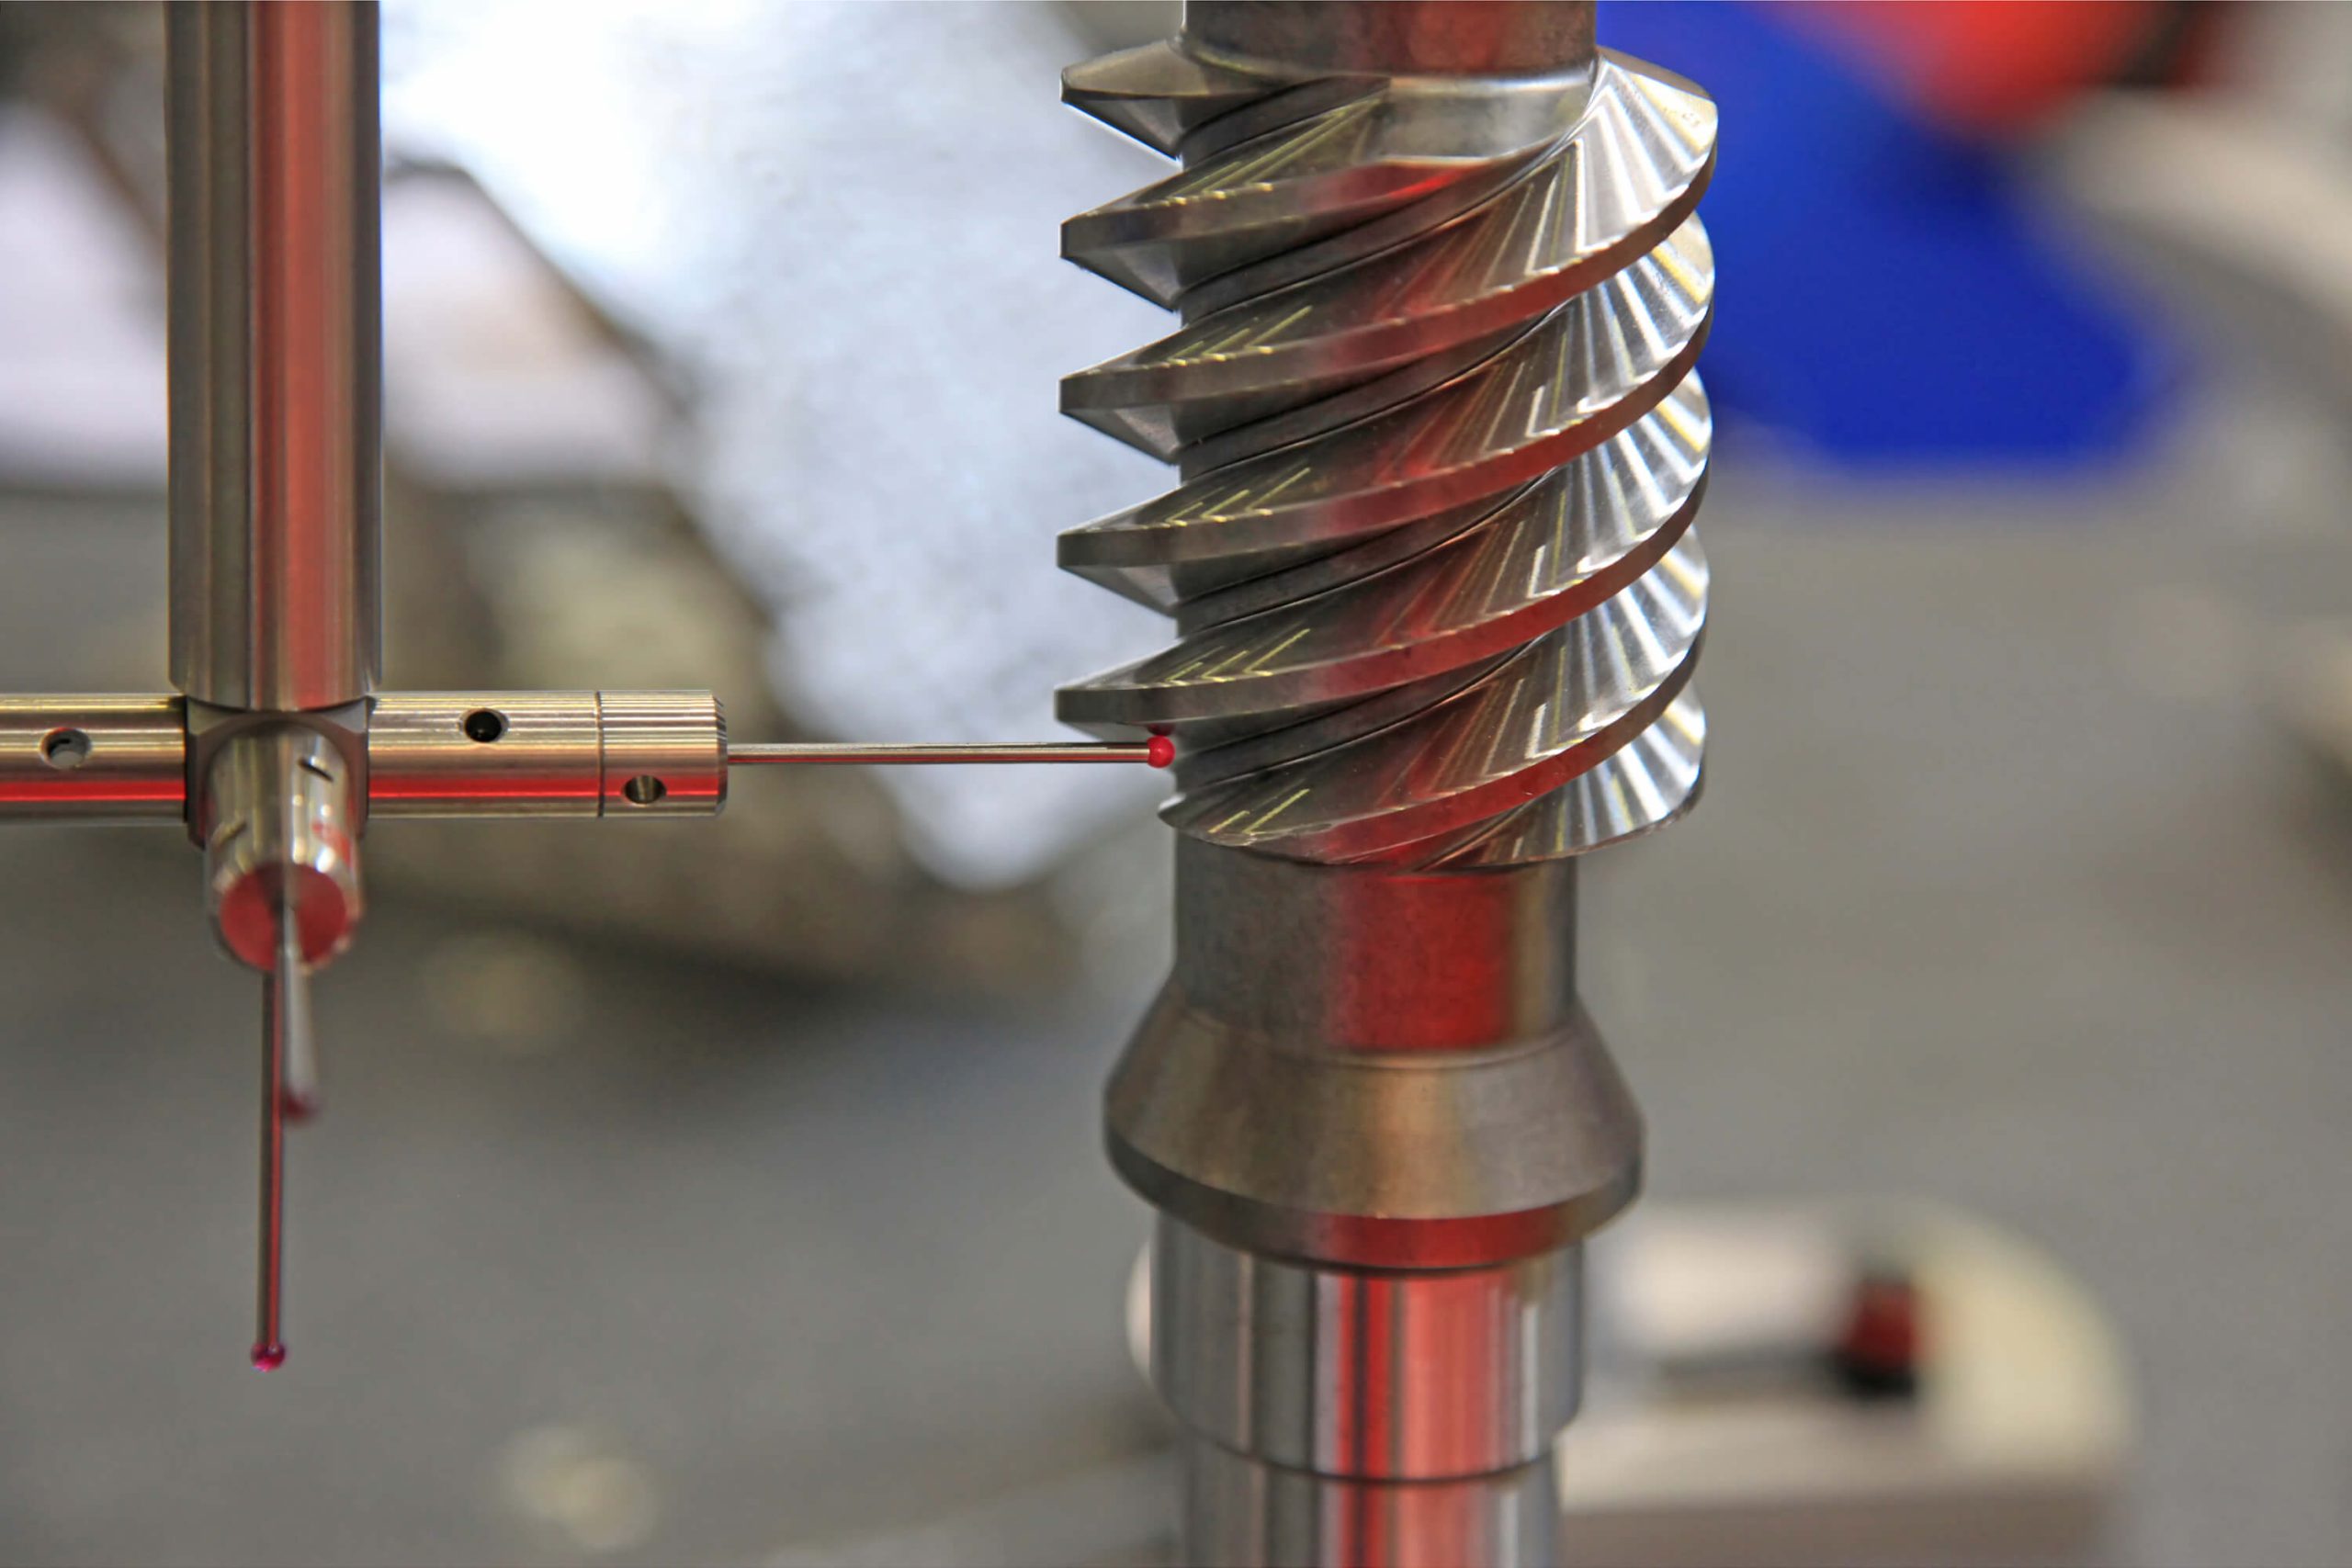
Quality Control and Inspection System
Five-stage verification protocol ensuring tooth geometry accuracy, contact pattern integrity, and full traceability from material to shipment
Raw Material Verification
Mill certificates validated against order specification; chemical composition spot-checked via spectrometer; hardness measured to confirm annealing condition. Material accepted only when documentation and test results meet requirements.
Blank & Pre-Cutting Accuracy Check
First-piece inspection after blank machining confirms dimensional compliance; cone angle, face width, and mounting surfaces verified before spiral tooth cutting. Statistical process control (SPC) applied to critical dimensions for volume runs.
Tooth Geometry & Spiral Angle Inspection
Gear measurement center captures tooth geometry data including spiral angle, pressure angle, tooth depth, and backlash. Data compared to AGMA/ISO tolerance class; out-of-tolerance parts segregated and corrected or scrapped.
Hardness & Heat Treatment Validation
Surface hardness (Rockwell C scale) measured at multiple locations; case depth verified via microhardness traverse on sectioned samples. Heat treatment report includes furnace cycle data and test results for traceability.
Contact Pattern Verification & Final Inspection
Tooth contact pattern marked with Prussian blue and photographed; contact location and size verified against design specification. Final dimensional inspection confirms mounting tolerances. Magnetic particle or ultrasonic testing available for critical applications. Full inspection data archived by batch number.
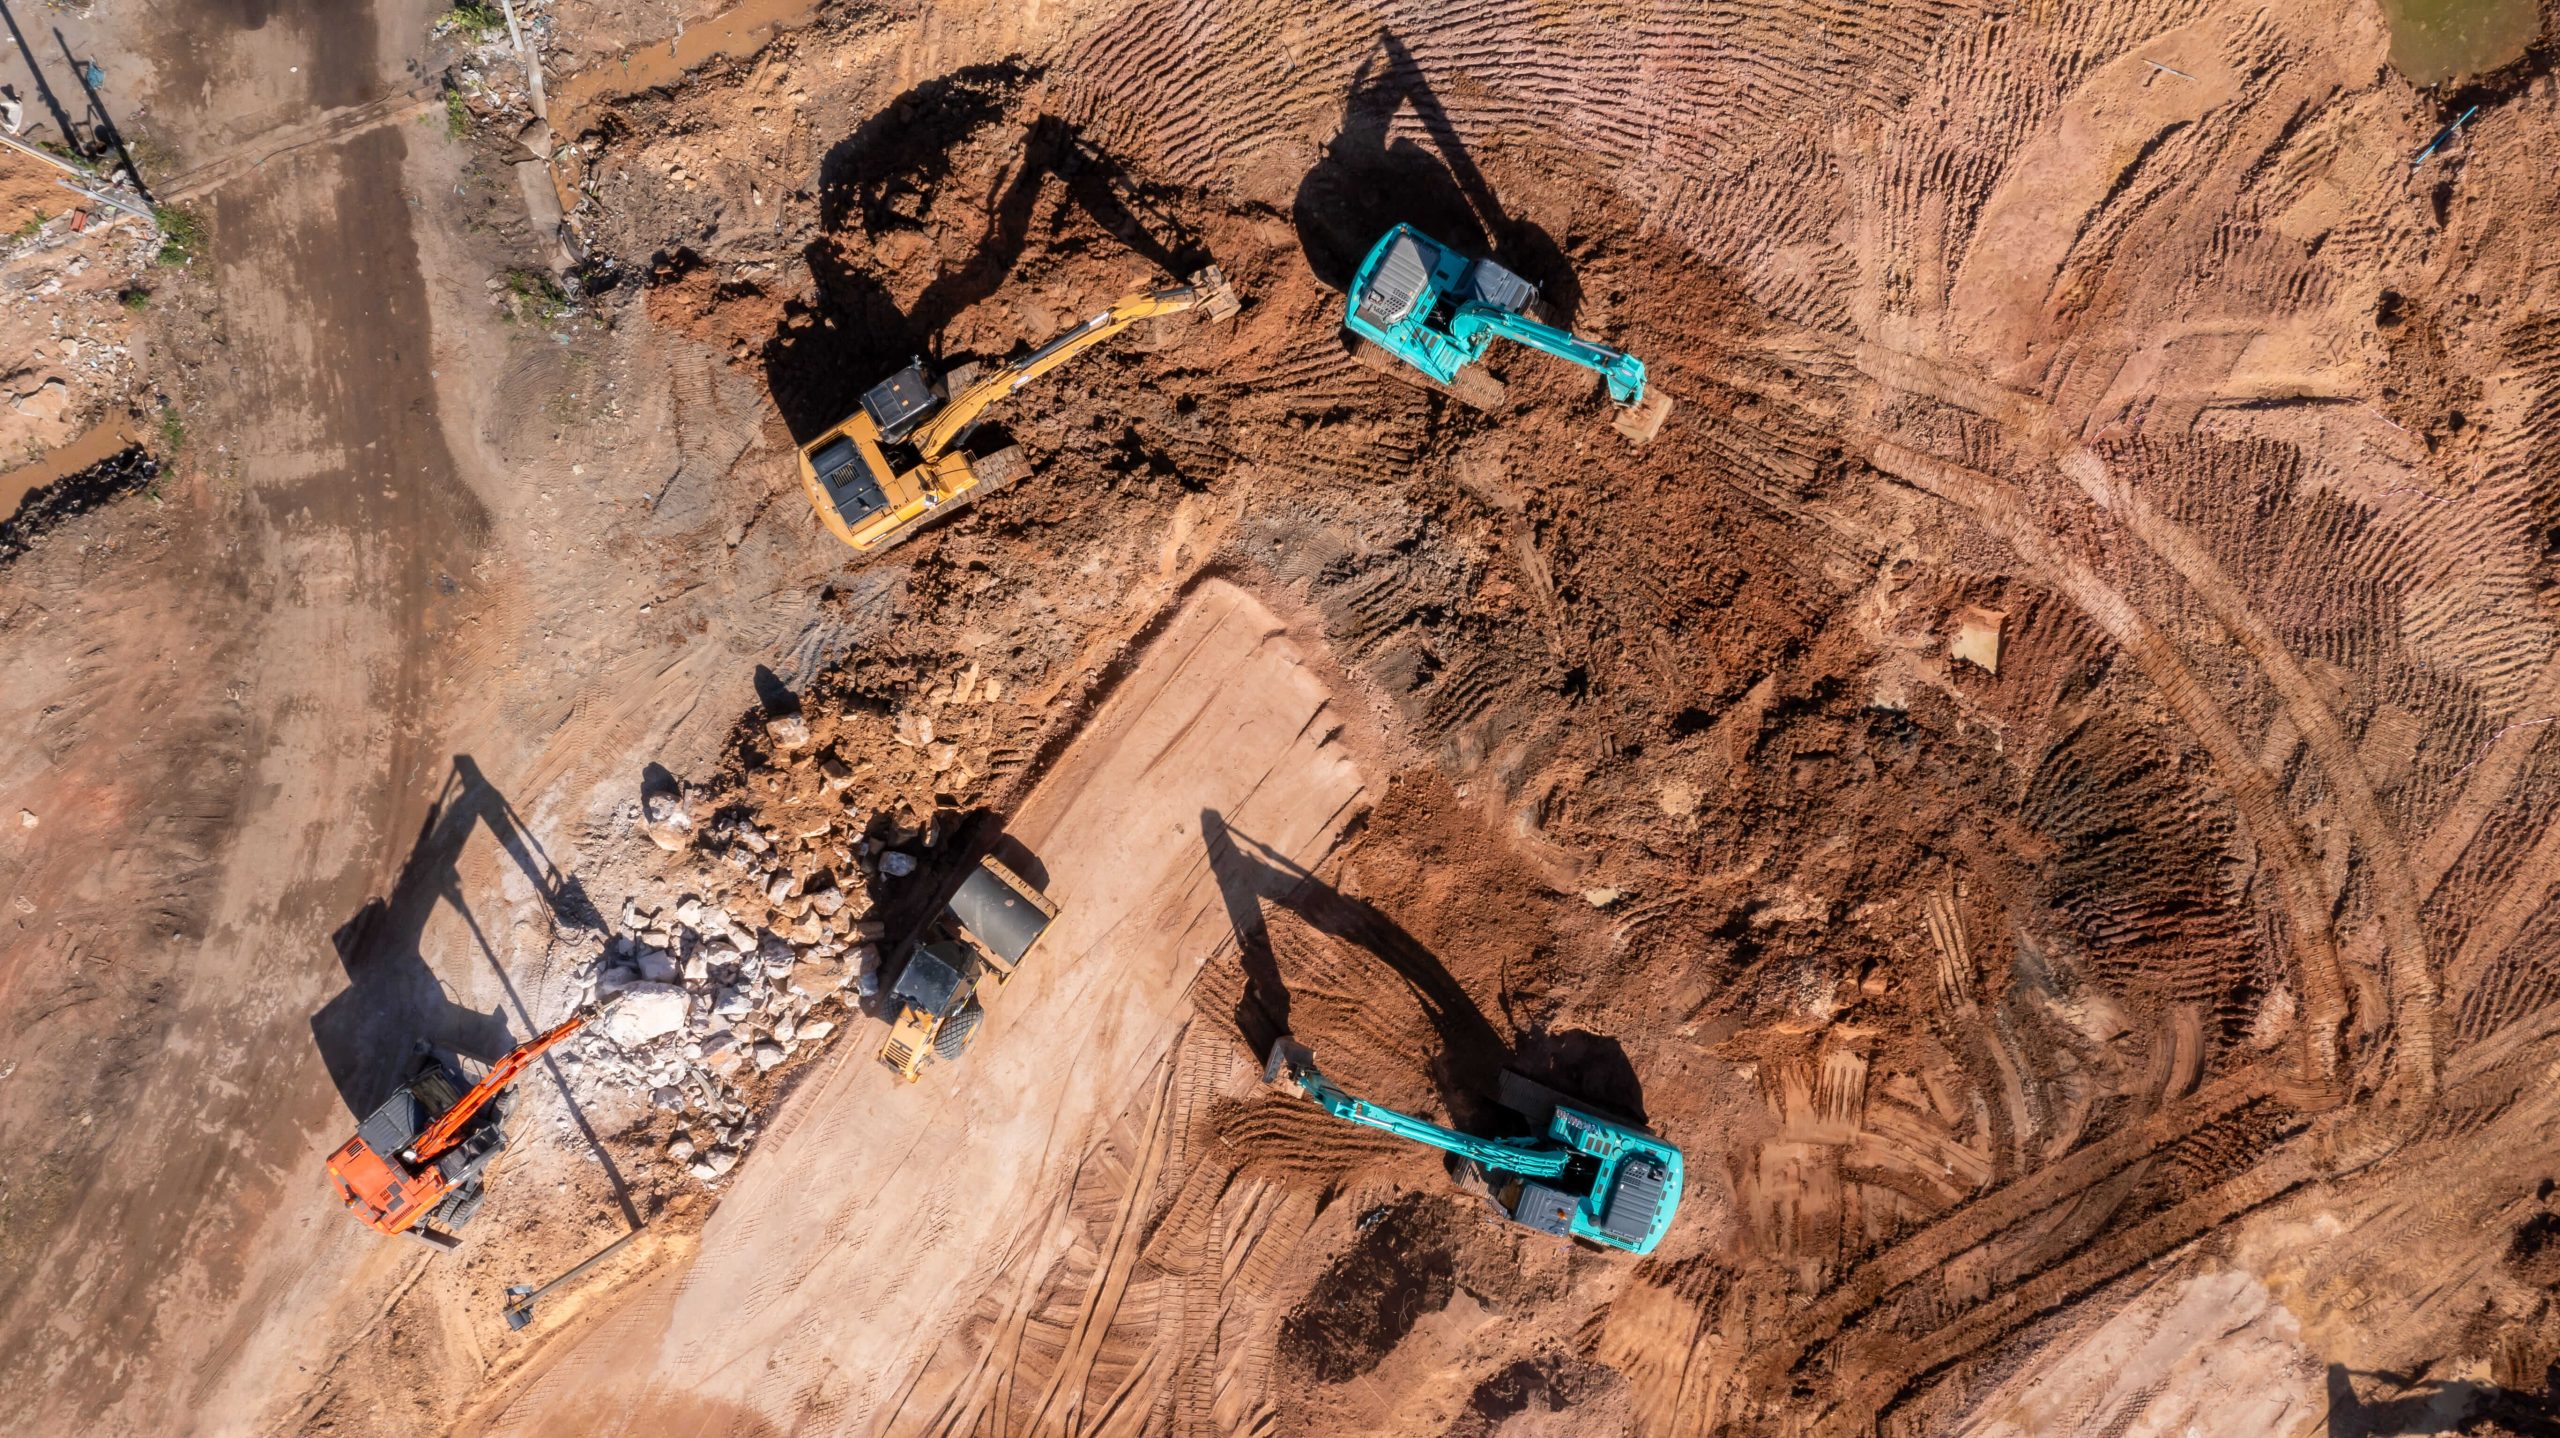
Applications and Industry Integration
Spiral bevel gears delivering smooth right-angle power transmission, compact design, and reliable load capacity across six core sectors

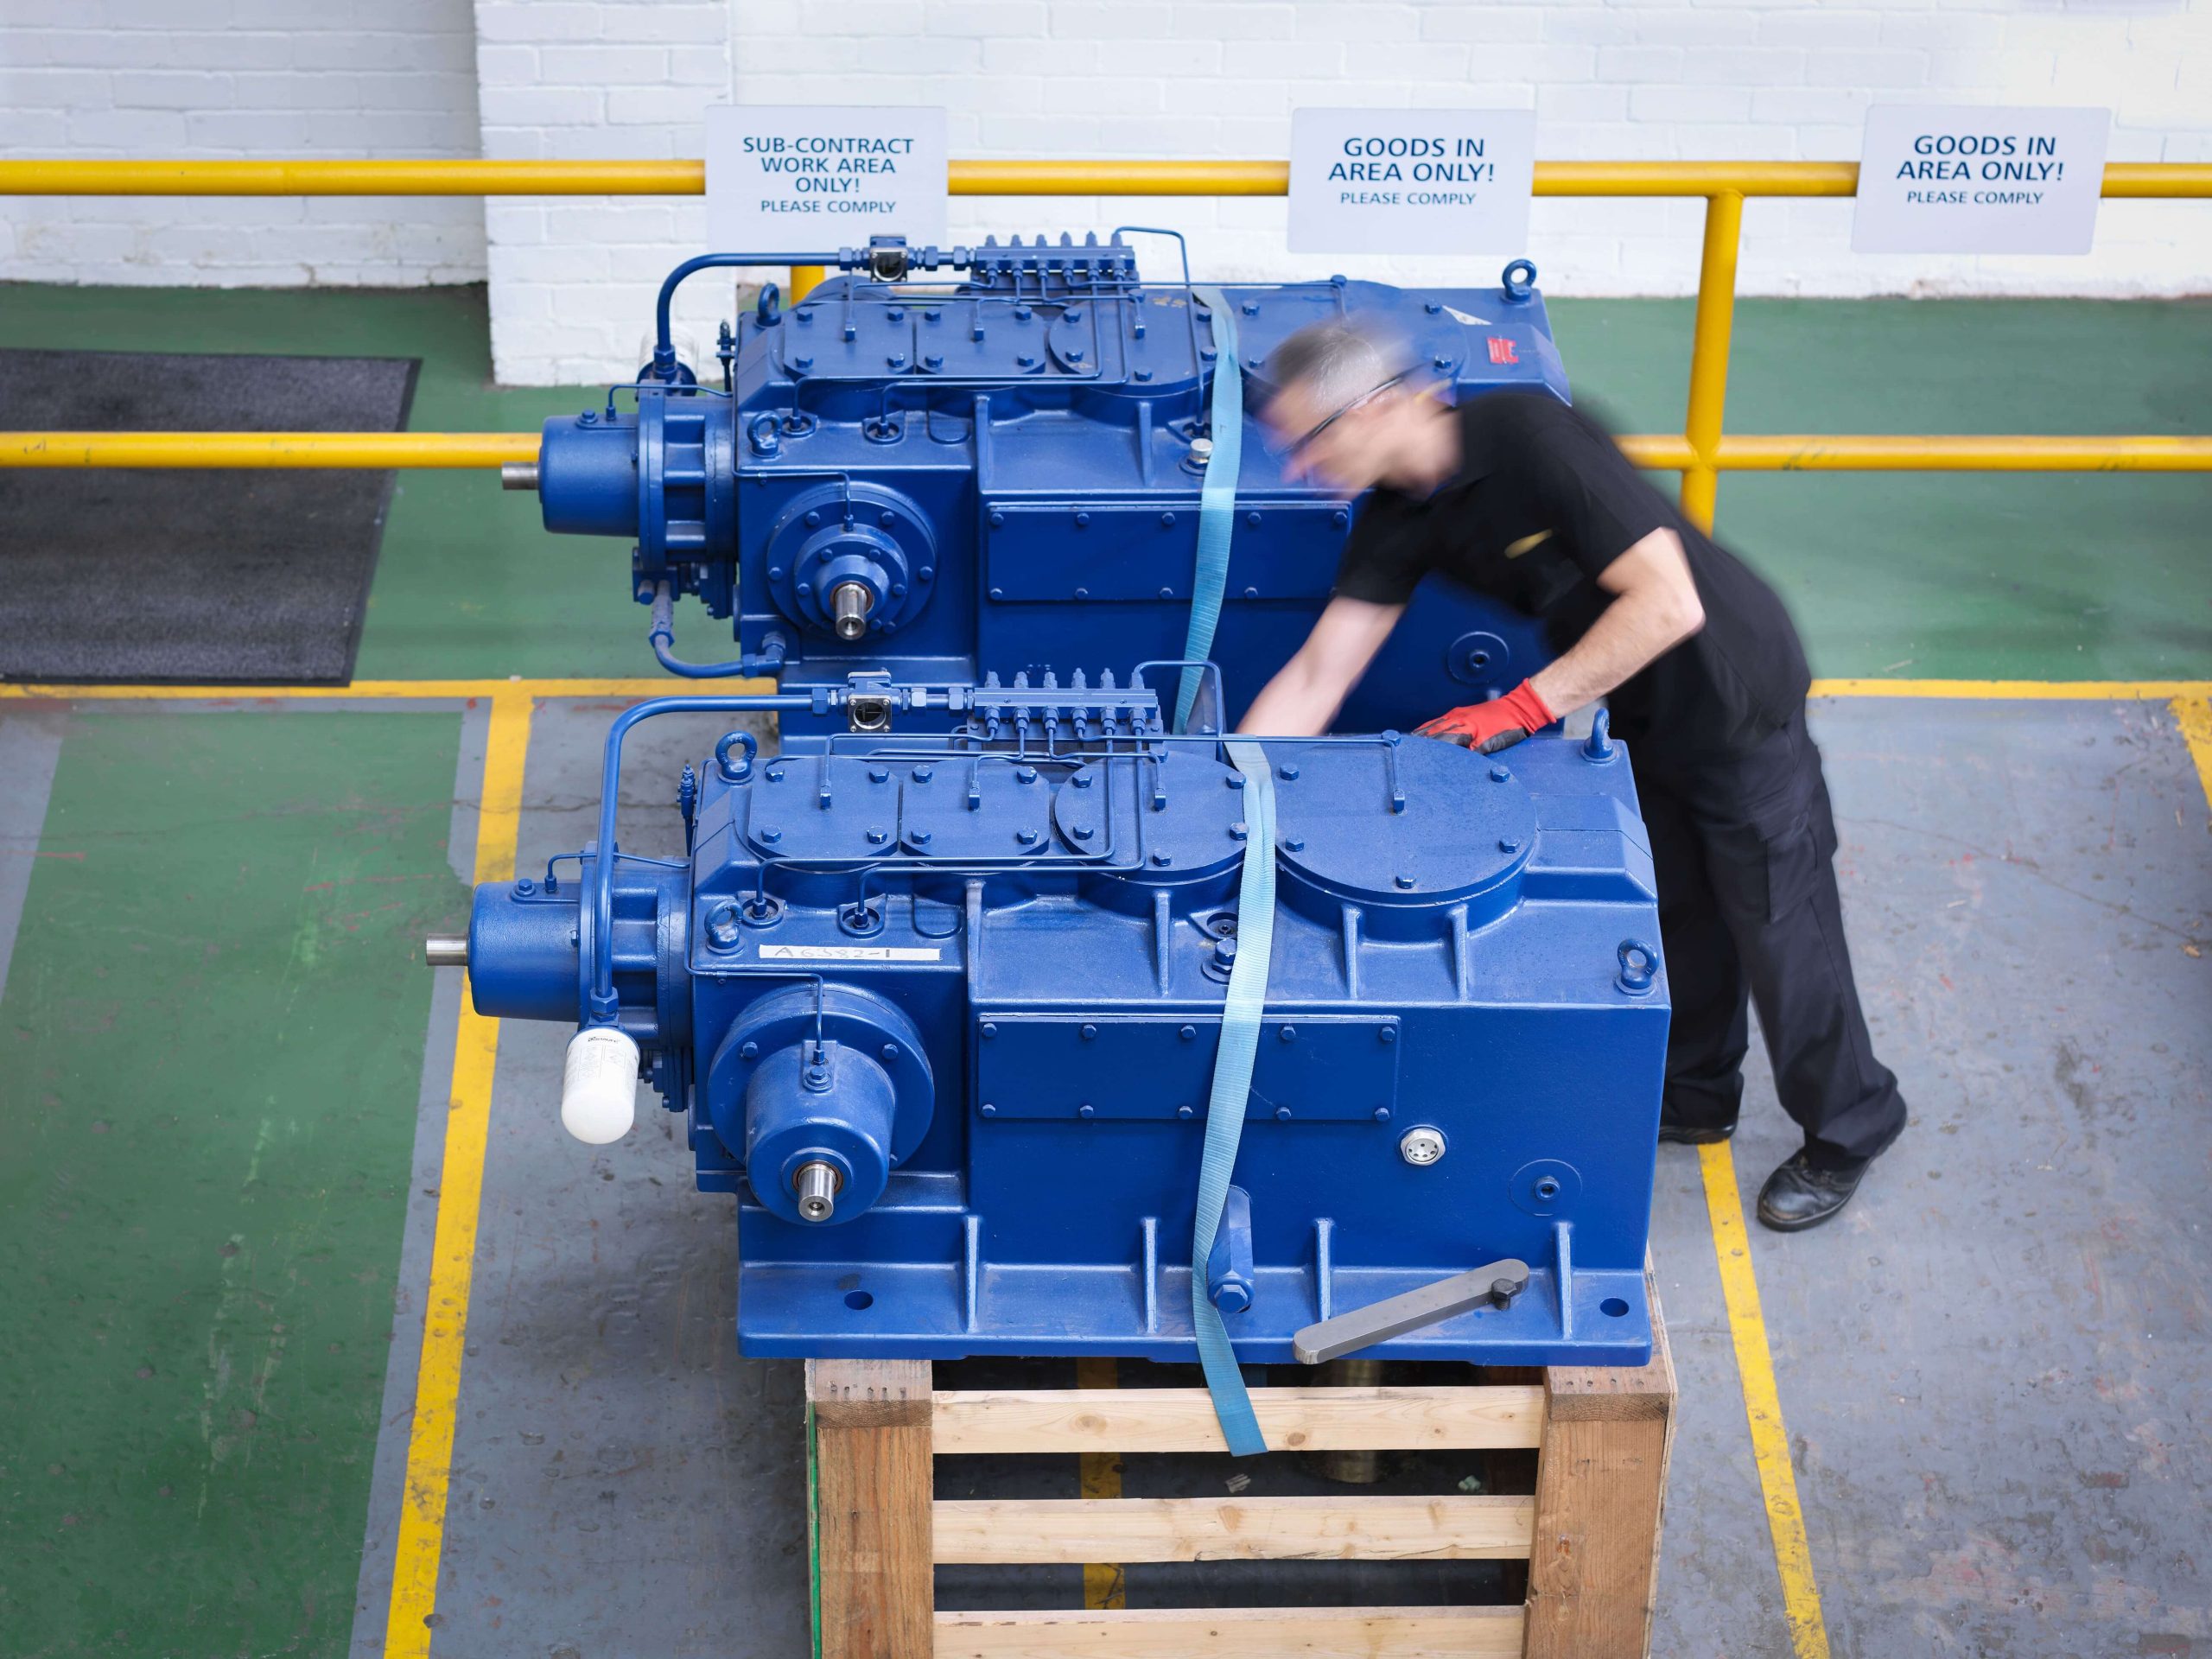


Certifications and Quality Standards
Recognized quality systems and compliance documentation supporting international procurement requirements

ISO 9001:2015

IATF 16949 Methods
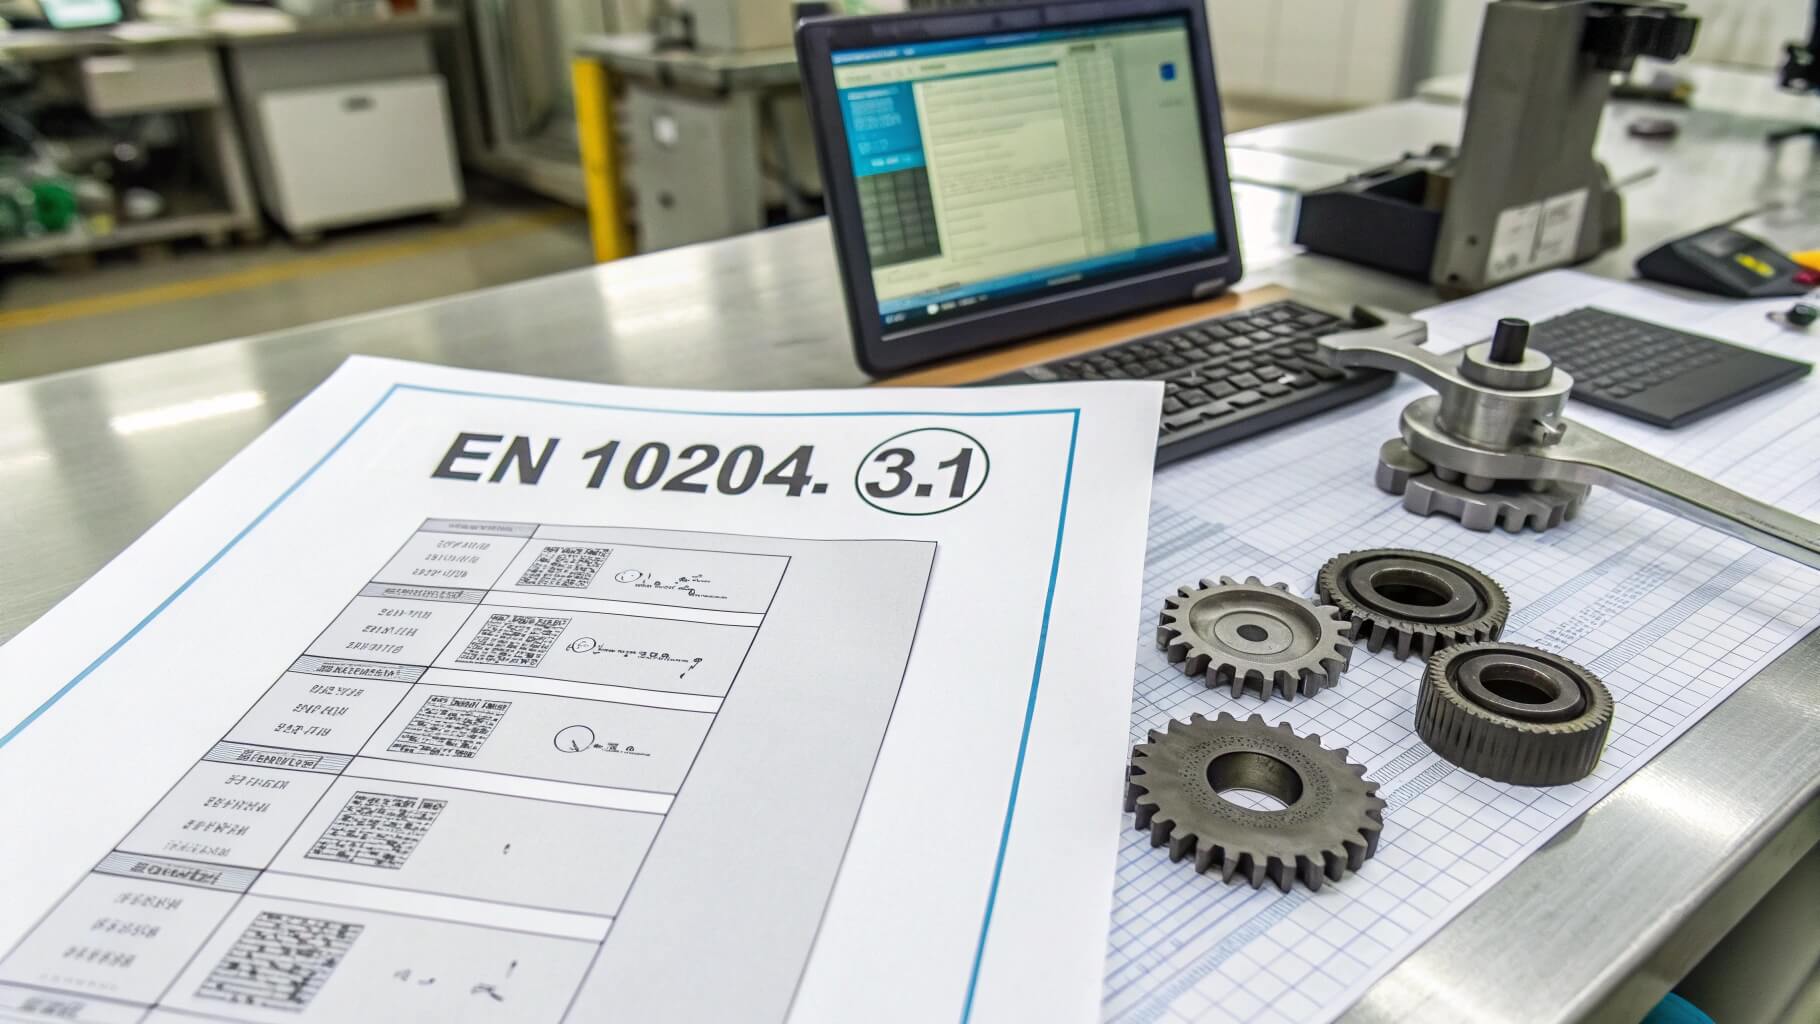
Material Traceability (EN 10204 3.1)

RoHS / REACH Compliance
Material Selection and Heat Treatment Process
Material composition and heat treatment directly determine spiral bevel gear durability, contact fatigue resistance, and service life. Yantong Tech applies controlled carburizing, nitriding, or induction hardening to achieve specified surface hardness and case depth, with full process documentation for quality assurance.


Design and Engineering Collaboration
Manufacturing engineers supporting gear geometry optimization, contact pattern analysis, and reverse engineering for OEM replacement
- Spiral bevel gear geometry calculation per Gleason or Klingelnberg methods; spiral angle, cutter radius, and machine settings optimized based on load, speed, and mounting constraints
- CAD/CAM-based tooth surface design and contact pattern simulation; profile modification analysis for noise reduction and stress distribution optimization
- Reverse engineering from samples or worn gears for OEM replacement; dimensional measurement, material identification, and tooth geometry reconstruction with manufacturability recommendations
- Technical drawing verification and export documentation support; dimensional clarification and tolerance stack-up analysis to ensure assembly fit and contact pattern requirements
What Our Clients Say
Trusted by automotive suppliers, industrial equipment manufacturers, and heavy machinery OEMs across three continents
We required spiral bevel gears for our automotive differential assemblies with strict NVH requirements. Yantong Tech's contact pattern documentation and tooth geometry reports gave us confidence in their process control. Five batches delivered on schedule with consistent quality — exactly what we need for series production.
Our construction equipment final drives demanded spiral bevel gears with verified tooth strength and fatigue resistance. Yantong's engineering team provided contact stress analysis and recommended case depth adjustments. The gears have been field-tested for 18 months with no failures. Professional and responsive.
We needed replacement spiral bevel gears for our marine propulsion systems. Yantong Tech reverse-engineered from our worn samples and delivered gears that matched the original contact pattern. Installation was straightforward and the units are performing well. Good communication throughout the project.
Why Engineers and Procurement Teams Choose Yantong Tech for Spiral Bevel Gears
Four core competencies supporting automotive drivetrains, industrial right-angle drives, and heavy equipment applications
Proven Manufacturing Capability
96-person team with CNC spiral bevel gear cutting, heat treatment validation, and contact pattern optimization facilities; module range m1–m10, outer diameter up to 600 mm, AGMA 10–12 accuracy achievable through controlled process.
Full Traceability & Documentation
Material certificates (EN 10204 3.1), heat treatment cycle reports, gear measurement data, and contact pattern photographs archived by batch; ISO 9001 quality system with documented corrective action and continuous improvement process.
Engineering-Focused Communication
Manufacturing engineers with spiral bevel gear design background engage directly with customer technical teams; tooth geometry calculation, contact stress analysis, and manufacturability feedback provided before quotation.
Realistic Pricing & Delivery
Quotations based on actual tooth geometry complexity, material specification, and heat treatment requirements; lead time commitments honored through milestone tracking for custom orders and rolling safety stock for repeat parts.
Packaging and Export Logistics
Protection protocol ensuring gear integrity from factory to your receiving dock

Corrosion Prevention & Sealed Protection
Surfaces are treated with rust-inhibiting oil or VCI protection depending on transit duration and climate, and each gear is sealed in PE bags with desiccant to control humidity from factory loading to overseas delivery.
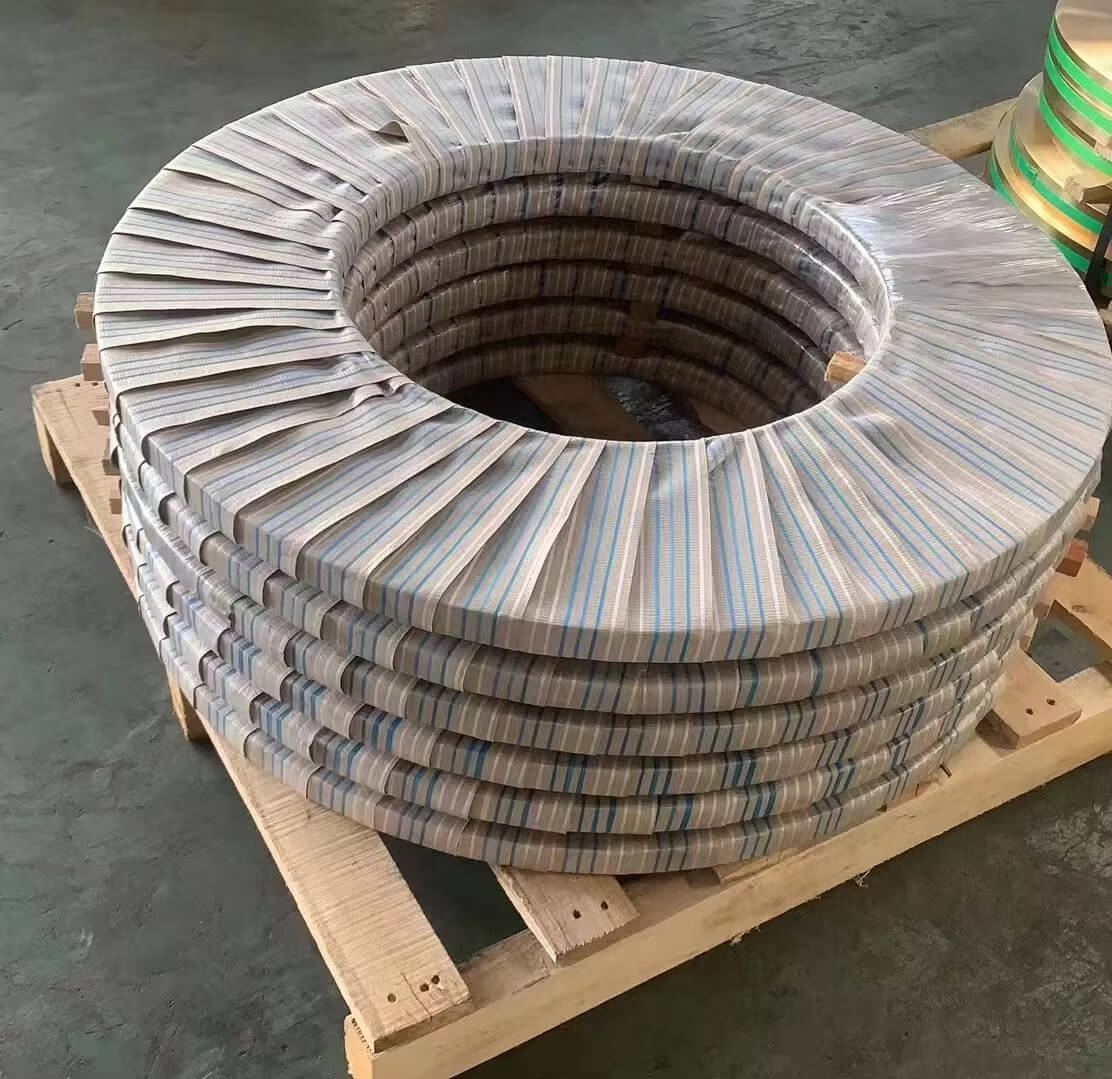
Tooth Edge Protection & Anti-Impact Support
Large gears are positioned on rigid pallets or supports that bear the weight, while tooth edges are wrapped or cushioned to avoid contact damage during loading and transport. Wrapping also helps reduce dust and moisture exposure before crating.
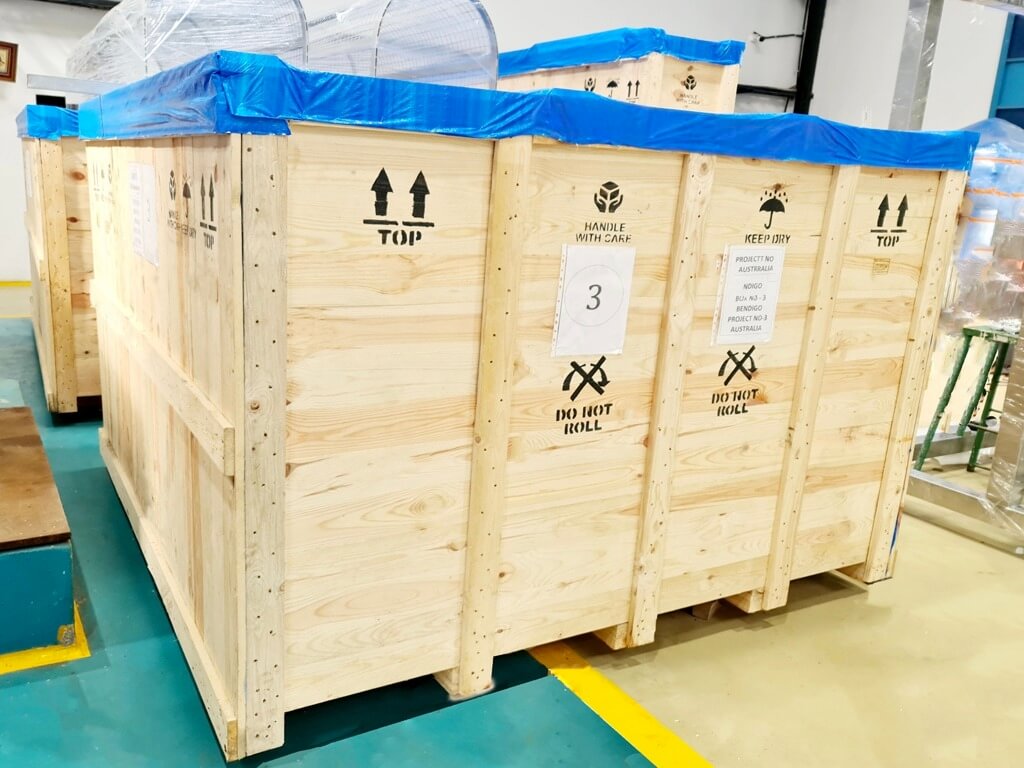
Reinforced Crating & Export-Ready Loading
Gears are secured in reinforced plywood crates with proper corner strength and lifting points, and crate dimensions are planned for safe forklift engagement and container loading according to destination requirements.
Frequently Asked Questions About Spiral Bevel Gears
Quick answers to common technical and commercial inquiries
Technical Questions
Commercial Questions
How to Start Cooperation with Yantong Tech
A transparent seven-step process from inquiry to ongoing technical support
Send Your Drawing / Specification
Submit technical drawings (PDF, DWG, STEP) or samples via email. Include specifications for material, heat treatment, accuracy grade, shaft angle, and contact pattern requirements. Our engineering team reviews for manufacturability within 24 hours.
Initial Contact
Drawing review and feasibility confirmation
Technical Clarification
Engineering dialogue and geometry verification
Technical Review & Proposal
Our manufacturing engineers discuss tooth geometry details, clarify contact pattern requirements, and recommend process approach (cutting method, heat treatment, lapping). Any manufacturability concerns or optimization suggestions communicated before quotation.
Quotation & Lead Time Confirmation
Detailed quotation provided with breakdown of material, machining, heat treatment, and inspection costs. Lead time estimated based on current production schedule. Payment terms and shipping arrangements confirmed.
Commercial Agreement
Transparent pricing and delivery commitment
Manufacturing Phase
Process control and milestone tracking
Production & Machining
Manufacturing executed per documented process plan. First-piece inspection, in-process checks, heat treatment validation, and contact pattern optimization performed at each stage. Production milestones updated for customer visibility on lead time status.
Inspection & Quality Documentation
Final 100% inspection including gear measurement, contact pattern verification, dimensional checks, and hardness testing. Inspection certificates, material traceability, heat treatment reports, and contact pattern photographs compiled for customer approval before shipment.
Quality Assurance
Full documentation and traceability package
Logistics & Delivery
Protected packaging and export documentation
Packaging & Shipping
Gears packed per export standards (anti-rust coating, foam protection, plywood crates with steel reinforcement). Export documentation prepared for customs clearance. Tracking information provided upon shipment dispatch.
Technical Consultation & After-sales Follow-up
Remote technical support available for assembly guidance, installation questions, and performance feedback. Quality issues addressed through root cause analysis and corrective action. Long-term partnership built on continuous improvement and mutual trust.
Ongoing Support
Technical consultation and continuous improvement
Ready to Source High-Quality Spiral Bevel Gears?
Send your drawing and receive an engineering reply within 24 hours — no obligation, just transparent technical dialogue.
- Precision manufacturing: Module m1–m10, OD up to 600 mm, AGMA 10–12 accuracy
- Controlled heat treatment: Carburizing, nitriding, or induction hardening with full process documentation
- Complete traceability: Material certificates, gear measurement data, and contact pattern photographs by batch
- Engineering support: Reverse engineering, contact pattern optimization, and tooth geometry calculation
- ISO 9001 certified with IATF 16949 methods for automotive-level quality assurance
